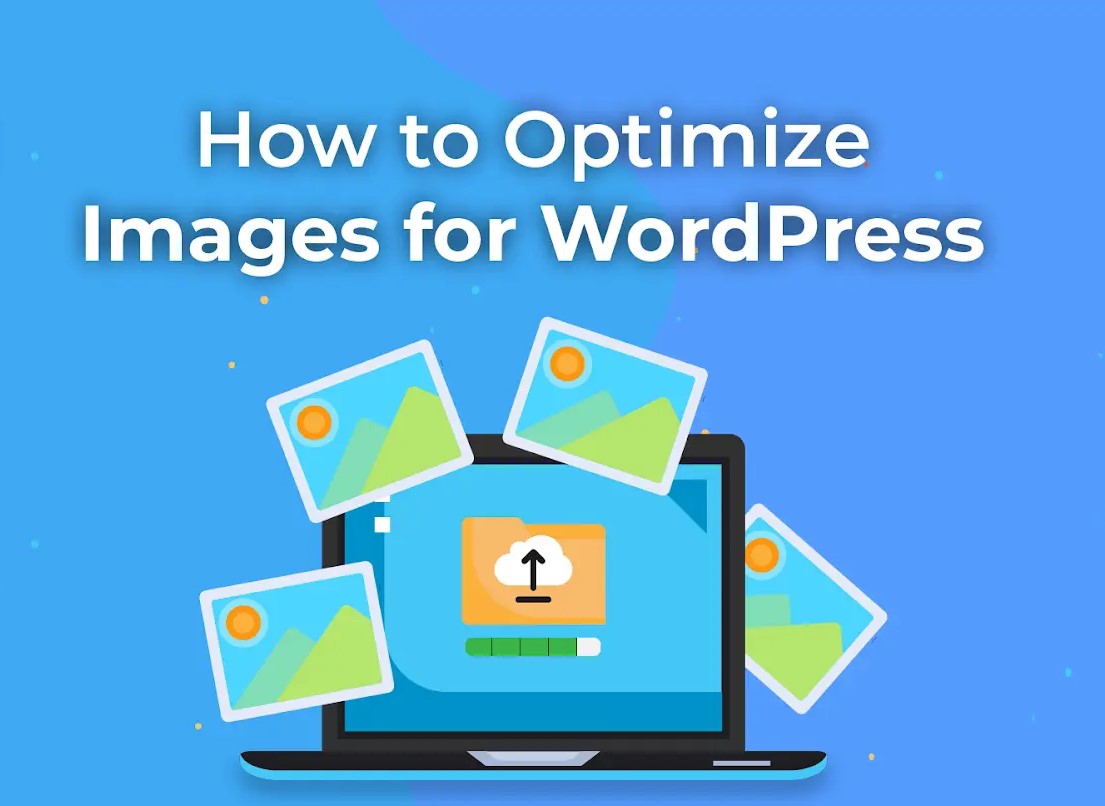
Optimize Images for WordPress involves several steps to ensure your images load quickly and efficiently without compromising quality. Here’s a detailed guide:

1. Choose the Right Image Format
- JPEG: Ideal for photographs and images with many colors.
- PNG: Best for images requiring transparency and images with text or sharp edges.
- GIF: Suitable for simple animations.
- WebP: Provides better compression than JPEG and PNG with good quality.
2. Resize Images Appropriately
- Resize images to the maximum dimensions they will be displayed at. For example, if your site’s content width is 800px, don’t upload images wider than that.
- Use an image editor like Photoshop, GIMP, or online tools like Canva or Pixlr to resize images before uploading. Optimize Images for WordPress
3. Compress Images
- Lossy Compression: Reduces file size by removing some data. Tools: JPEGmini, TinyPNG, TinyJPG.
- Lossless Compression: Reduces file size without losing quality. Tools: ImageOptim, OptiPNG, EWWW Image Optimizer.

4. Use Image Optimization Plugins
- Smush: Automatically compresses and optimizes images on upload.
- ShortPixel: Compresses images and converts them to WebP format.
- Imagify: Offers multiple compression levels and WebP conversion.
- EWWW Image Optimizer: Optimizes images using various compression methods.
5. Enable Lazy Loading
- Lazy loading defers the loading of images until they are needed, reducing initial load times.
- Use plugins like Lazy Load by WP Rocket, a3 Lazy Load, or Autoptimize. Optimize Images for WordPress
6. Serve Images via a CDN
- A Content Delivery Network (CDN) can deliver images from servers closer to the user, speeding up load times.
- Popular CDNs include Cloudflare, MaxCDN, Amazon CloudFront, and KeyCDN.

7. Leverage Browser Caching
- Browser caching allows images to be stored in the user’s browser for faster loading on subsequent visits.
- Add caching rules to your
.htaccessfile: Optimize Images for WordPress
  <IfModule mod_expires.c>
    ExpiresActive On
    ExpiresByType image/jpg "access plus 1 year"
    ExpiresByType image/jpeg "access plus 1 year"
    ExpiresByType image/gif "access plus 1 year"
    ExpiresByType image/png "access plus 1 year"
    ExpiresByType text/css "access plus 1 month"
    ExpiresByType application/pdf "access plus 1 month"
    ExpiresByType text/x-javascript "access plus 1 month"
    ExpiresByType application/x-shockwave-flash "access plus 1 month"
    ExpiresByType image/x-icon "access plus 1 year"
    ExpiresDefault "access plus 2 days"
  </IfModule>
8. Use Responsive Images to Optimize Images for WordPress
- Utilize the
srcsetattribute to serve different image sizes based on the user’s screen size:
  <img src="image.jpg"
       srcset="image-480w.jpg 480w,
               image-800w.jpg 800w"
       sizes="(max-width: 600px) 480px,
              800px"
       alt="Description of the image">
9. Remove EXIF Data
- EXIF data contains unnecessary information about the camera settings, which can bloat image size.
- Use tools like EXIF Purge or the EWWW Image Optimizer plugin to strip EXIF data from images.
10. Regularly Audit and Optimize Existing Images
- Periodically check and optimize existing images to ensure they remain efficient. Optimize Images for WordPress
- Use plugins like Regenerate Thumbnails to regenerate thumbnails after resizing images or changing theme settings. Optimize Images for WordPress
Steps for Manual Optimization:
- Prepare Images Before Uploading:
- Resize to the required dimensions. Optimize Images for WordPress
- Compress using online tools or software.
- Upload to WordPress:
- Use the Media Library or directly upload within the post/page editor.
- Optimize Images After Uploading:
- Use optimization plugins to further compress and Optimize Images for WordPress
By following these steps, you can ensure your WordPress site remains fast and efficient, providing a better user experience and potentially improving your SEO rankings.


