To password protect a directory in Webuzo using the Directory Privacy option,
Follow these steps:
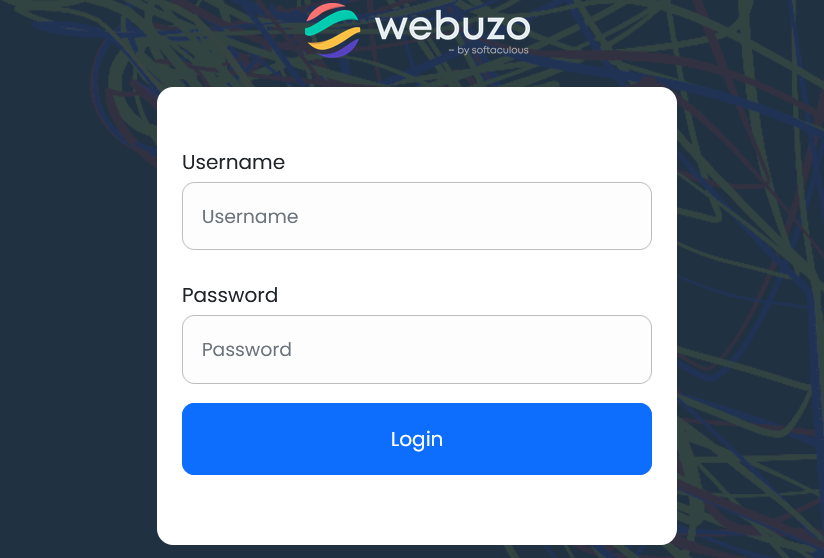
Step 1: Access Webuzo Control Panel
- Log in to your Webuzo control panel.
Step 2: Navigate to the Directory Privacy Option
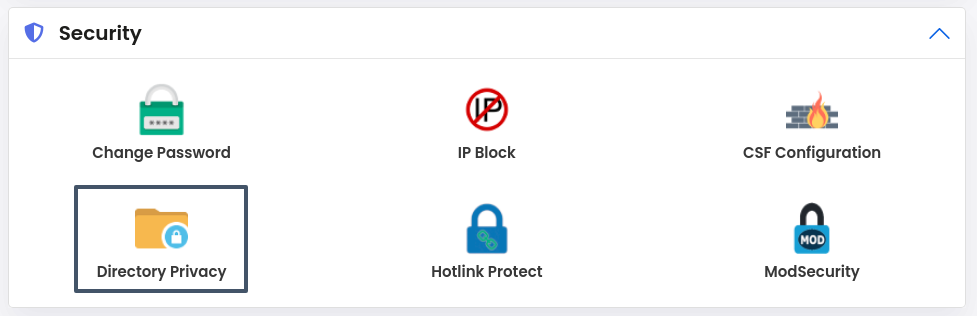
- Once logged in, look for the Security section in the Webuzo dashboard.
- Click on Directory Privacy (sometimes referred to as “Password Protect Directories”).

Step 3: Select the Directory to Protect
- You will be presented with a list of directories. Navigate to the directory you want to protect.
- Click Save to ADD a Password Protected Directory User
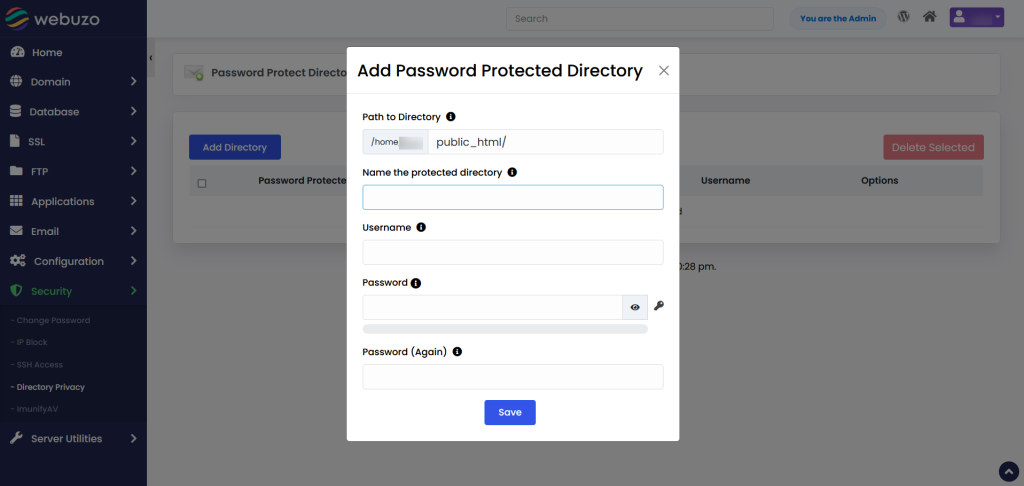
Step 4: Enable Password Protect a Directory in Webuzo
- On the Directory Privacy page, enter the username and Password protect this directory.
- Click on Save to see a success message like this.
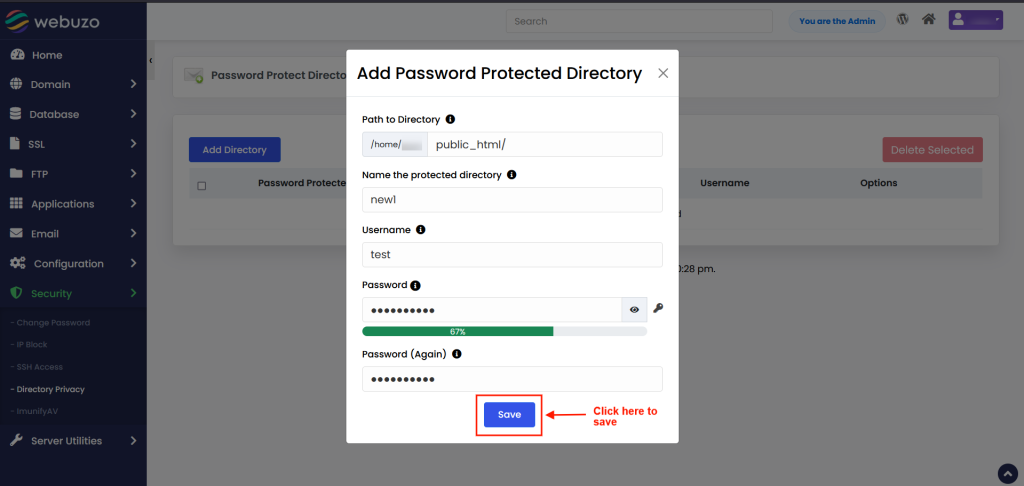
Step 5: Create a User for Access
- Under the Create User section, fill in the Username and Password fields.
- Click on the Save or Add button to create the user.
Step 6: Verify the Protection
- Go to the directory in your web browser to verify that the protection is active. You should be prompted to enter the username and password you just created.
Step 7: Manage Users (Optional)
- If you need to add more users or change passwords, you can return to the Directory Privacy page, select the protected directory, and manage the users accordingly.
This method allows you to password-protect a directory easily without needing to manually edit .htaccess and .htpasswd files.